One of the benefits of making your own yogurt is that you can create whatever flavor combination makes you happy. Plus, you can make this healthy snack even more nutritious by using ingredients that are organic, all-natural, and preservative-free. While whipping up a batch of homemade yogurt may seem like a tall order if you’ve never done it, it’s actually a cinch if you’ve got an appliance that does it for you. Even better? There’s no need to spend hundreds of dollars on a uni-tasker appliance that only makes yogurt. Just break out your VitaClay multi-cooker! This same handy device that brews rich soup stock, cooks faster than a regular slow cooker, and makes perfect fluffy rice was also designed to create creamy, delicious yogurt!
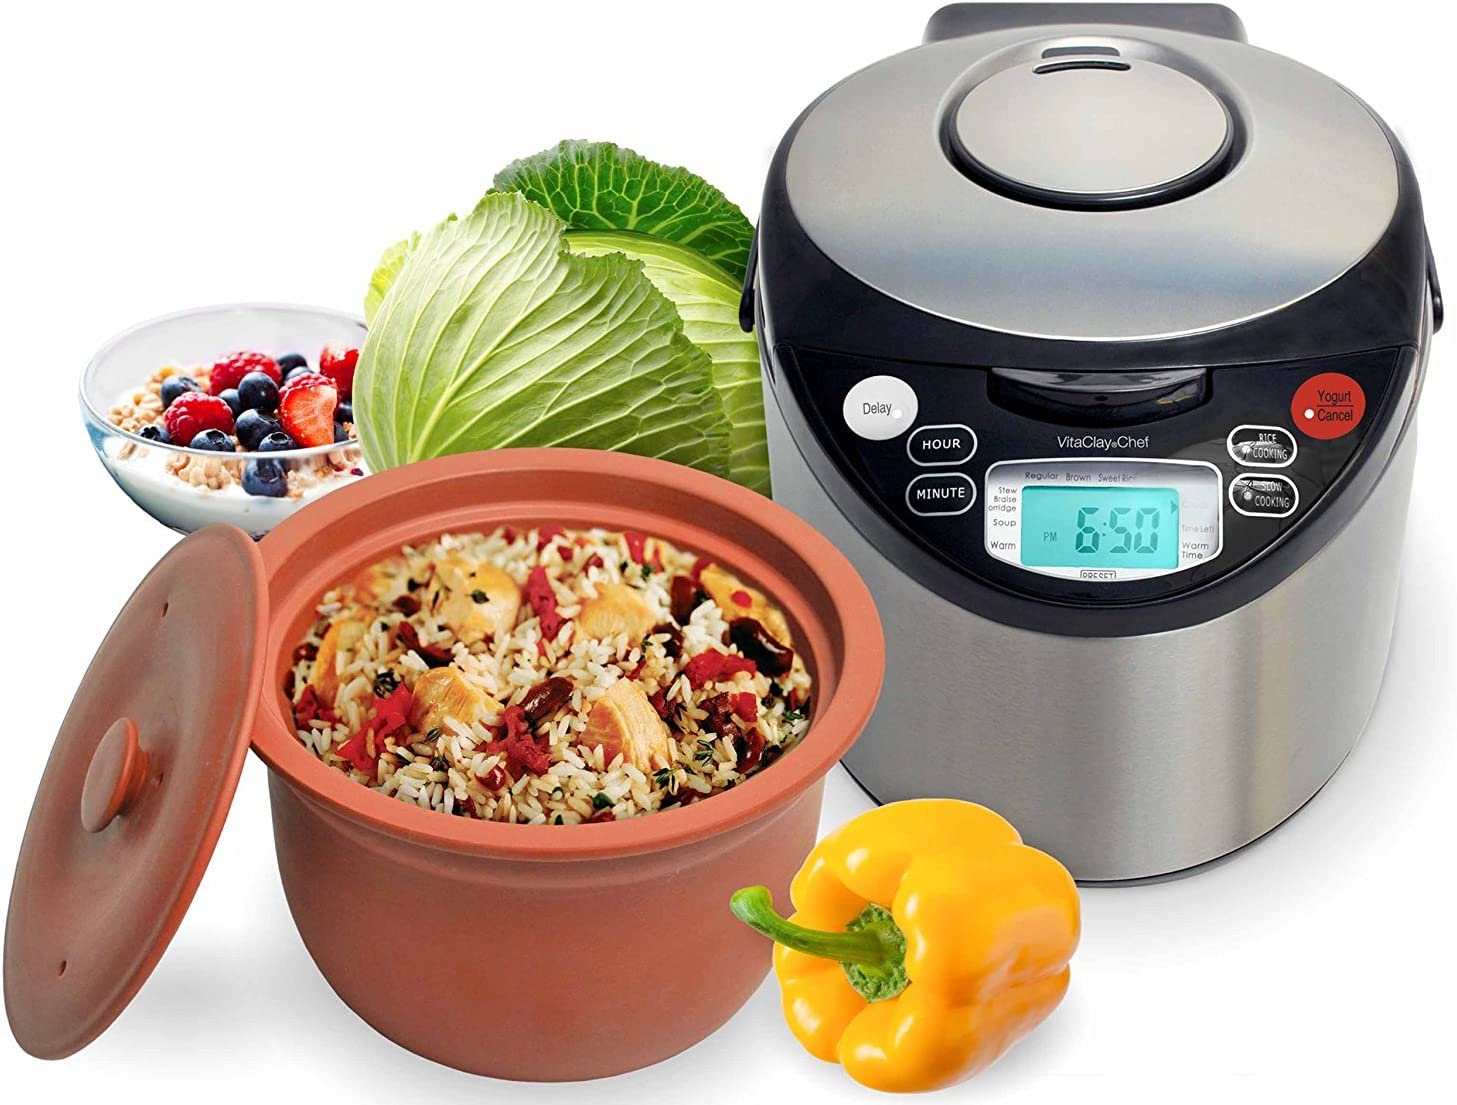
>> Get the VitaClay VM7900-8 Smart Organic Multi-Cooker, 8-Cup/4.2-Quart, Oval <<
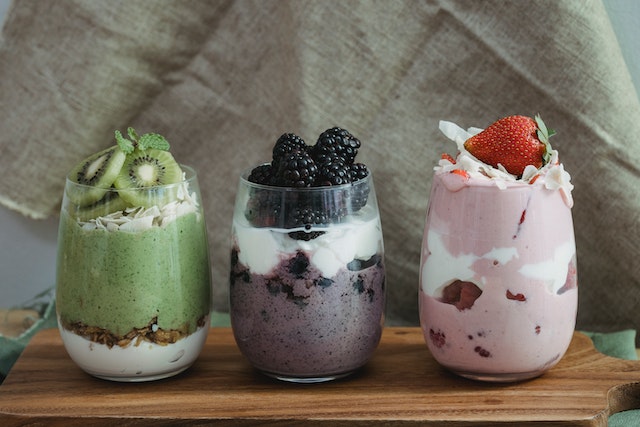
If you’re new to learning how to make homemade yogurt, we’re sharing one of our favorite VitaClay recipes we think you’ll love. One of our favorite features of this recipe is that you can add or subtract different flavor elements to suit your own taste. With a little practice, you can start experimenting with new flavors and ingredients, like fruits, sweeteners, and extracts.
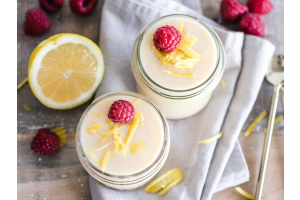
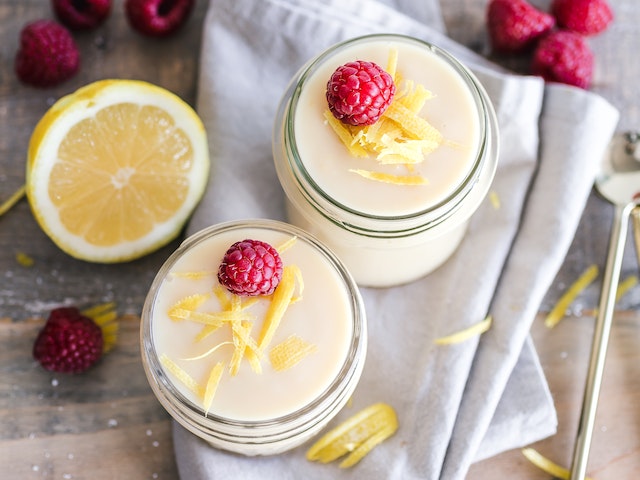
Vanilla-Honey Yogurt
Makes eight 4-oz. servings
Ingredients
- 4 cups of 2% milk
- ⅓ cup of honey
- 2 teaspoons of vanilla extract
- 1 teaspoon of lemon zest
- 1 package of yogurt cultures
Directions
Pour milk into a Dutch oven set to medium heat. Bring milk to 180°F and remove from heat. Whisk in the honey, vanilla, and lemon zest. Then allow it to cool to 110°F. Pour a package of the yogurt culture on top of the milk mixture and allow it to set for 2 minutes. Then carefully whisk the cultures into the milk. Pour the entire mixture into your VitaClay pot and place the pot into the multi-cooker. Set the timer for 8 hours on the “Yogurt” setting. When finished, scoop the yogurt into air-tight jars and store it inside the refrigerator for up to two or three weeks.
Ready to Make a Second Batch?
This time, simply follow the same steps as before but instead of using a package of yogurt culture, mix in a half cup of your already-made yogurt. The live culture already there will activate the new batch! After you finish making your first batch, be sure to separate and store a half cup of starter in a small clean container and write “Starter” across the top so that no one eats it. Use the starter again within ten days to make a fresh batch of yogurt.
Need a Vegan Yogurt Recipe? No Problem!
People love soy yogurt for its health value and as a vegan alternative to yogurt made from dairy. To make your own vegan soy yogurt with your VitaClay, simply add a quart of soy milk to your clay pot (making sure your soy milk contains only soybeans and water). You don’t need to preheat the milk if you are making it from a new sealed container. If you make a smaller batch from milk that you already have open, you will need to heat it to 180°F first in order to kill any bacteria that may have formed.
Next, add the yogurt cultures (or a scroop from a previous batch of vegan yogurt) and give it a stir. Press "Yogurt" on the VitaClay and allow it to ferment for 8 to 12 hours or overnight. After your yogurt has finished, allow it to cool to room temperature and use a large flat spoon to remove any liquid that has formed at the top, then transfer it to containers with a good seal.
How to Make Homemade Yogurt Thicker
To make your homemade yogurt thicker, try adding cream or using whole milk. Straining the whey from your yogurt is another option. This removes some of the water and leaves the fats and proteins behind. To do this, set a fine-mesh sieve lined with a double layer of cheesecloth over a large bowl. Pour the yogurt into the sieve and let it sit until it reaches your desired thickness, typically between 6 to 18 hours.
To make homemade vegan yogurt thicker, you can try adding pectin. Pour 2 cups of soy milk into a blender and add 1 to 2 teaspoons of pectin until fully incorporated. Then add it to the rest of your batch and heat. (People who have a citrus allergy should not use pectin.)